Let me just say this first: STAY AWAY FROM CHINESE KNOCK-OFFS! They are nothing like the real product. The fake ones are made from a different plastic that can crack in harsh temperatures. Spend the money and buy the real product that comes from UK. It's from engineered plastic, just like KW's suspension components and it will not crack even in Canadian winters.
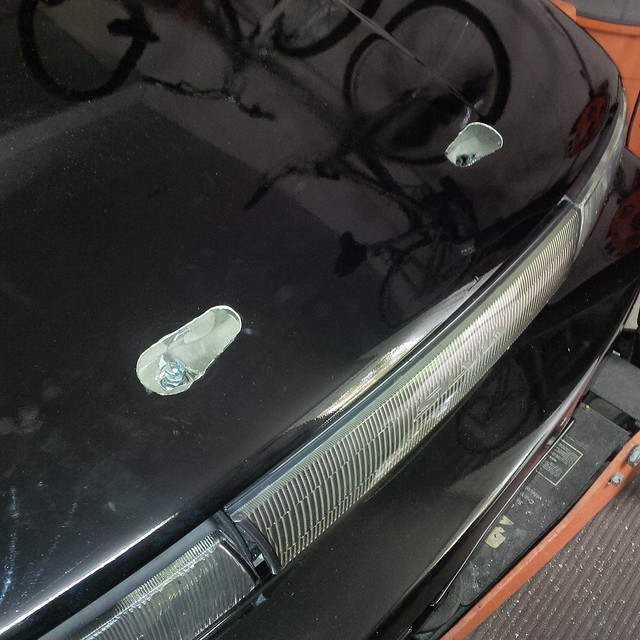
Ok so I have first installed a set of Summit Racing locking pins for my hood, which I really loved until the vibrations got the best of one of them and I was unable to put the key inside the lock, therefore having to throw them both out!
(they were still good in this photo)
This is what convinced me to buy the locking pins from Aerocatch.
The only downside to these are the HUGE cut-outs you need to make in your hood in order to fit them nicely.
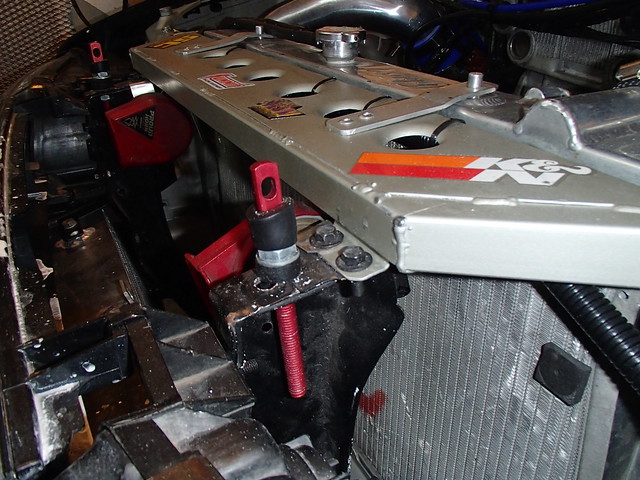
Start off by finding a nice place to put them. Open the hood and look for flat surfaces where the actual pins can be bolted into place. In my case, since I wasn't using the original rad support, I had to install the pins on the headlight brackets.
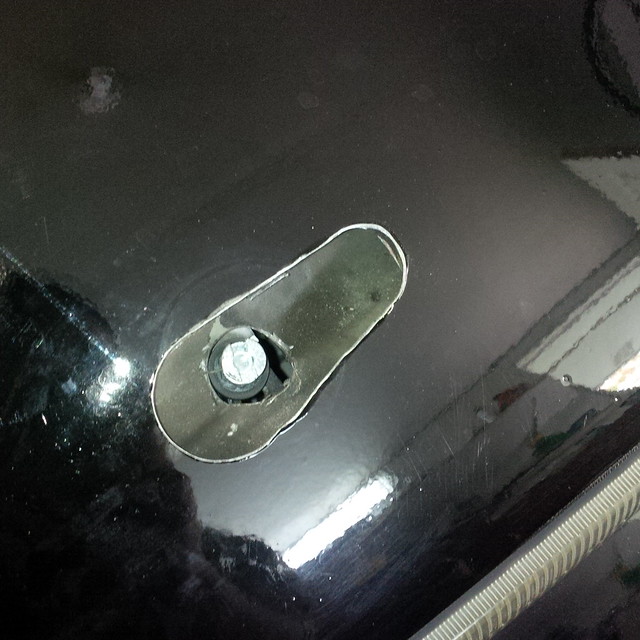
You then put some fresh paint on the tip of these pins and close the hood to see where they touch. Put a nice 1/2" hole in that spot of the hood from the inside outwards. This is going to allow you to place your templates in the next step.
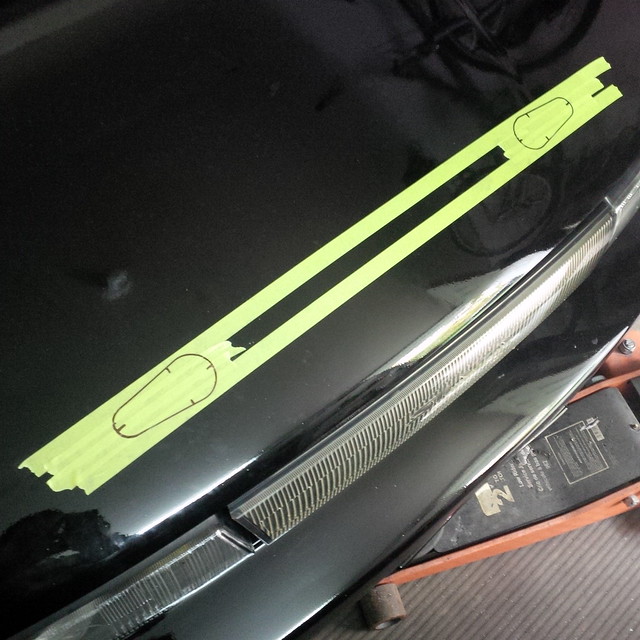
Now you should place some masking tape (preferably 3m) on the hood, that will help you ALIGN the latches AND avoid ruining the paint when cutting the openings.
Go grab the upper plastic parts of the latches and open them up so you can see the little hole where the pin will go through. ALIGN THIS HOLE with the 1/2" one you just drilled or the actual pin (if it's still in place and protrudes through the hood). NOW you can turn it however you like it, making sure to keep the holes aligned AND both latches ALIGNED! Take a sharpie and draw the outlines.
Start by cutting out the rounded edges of the drawing using two different sized hole saws. I used a 1"3/4 for the larger radius and a 1" hole saw for the smaller side.
You can then use a cut-off wheel on an air grinder to cut the small straight lines between each circle.
You will NEED to use a die grinder with a cylinder stone in order to smooth and enlarge the template you just cut out because the latches will not fit right away. Go slow and you'll end up with something nice.
Now, depending on the placement of your latches, you will chose to either use the provided back pieces and the nice flush hex bolts that come with the kit OR use rivets like me. I used rivets because I installed the pins in a part of the hood where there is a reinforcement so it would've been too complicated to cut through this.

This is how they line up:

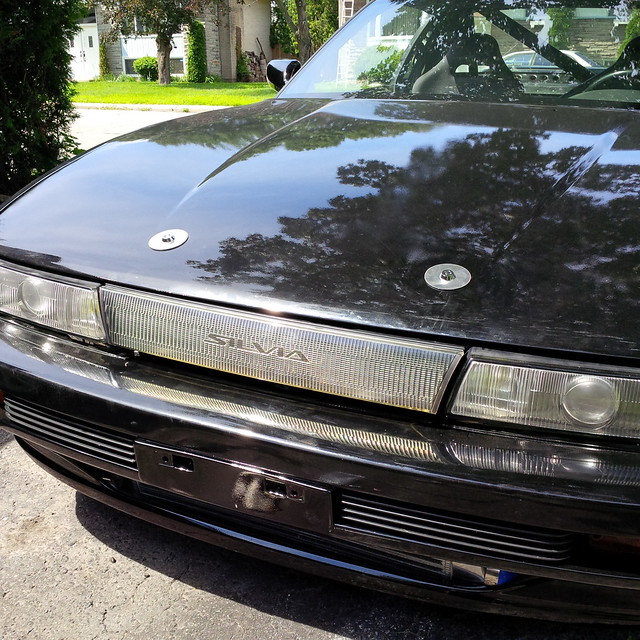
And the final product in sun light with the cut and buffed hood :D
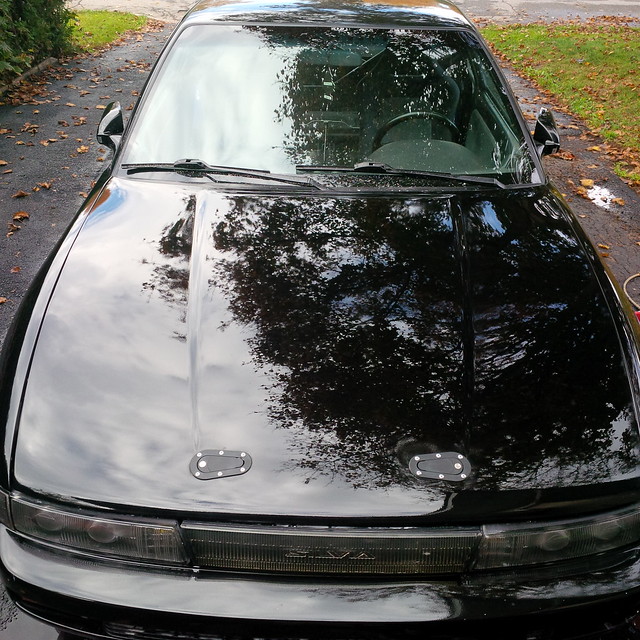
This is a great product, very durable and easy to operate. It holds the hood in place nicely even without the factory hood latching system. There are no particular noises when driving around and no vibrations. The locks are a nice addition too.
No comments:
Post a Comment